Although there has been a proliferation of biological datasets made available in recent years, often this information isn’t machine readable, making it hard for things like Google Dataset Search to find and index them. In this series of blog posts, we’ll outline how we are working to make datasets that our collaborators generate and open data more findable, accessible, interoperable, and reusable, as well as tools that we’ve developed to make it easier to share data. In this post, we’ll talk about how to add new data sources using the BioThings SDK
What are BioThings SDK Data Plugins?
So we’ve used the schema playground in the Data Discovery Engine to create schemas that identify metadata fields of interest for different types of information we want, we’ve mapped metadata from resources of interest to our schema, created an initial info dump of this metadata, and used the BioThings SDK to create a backend database (MongoDB), a search index (Elasticsearch), and an API. How do we actually expand the resources available in our new API? We do this by ‘plugging in’ new resources which we’ll call ‘plugins’.
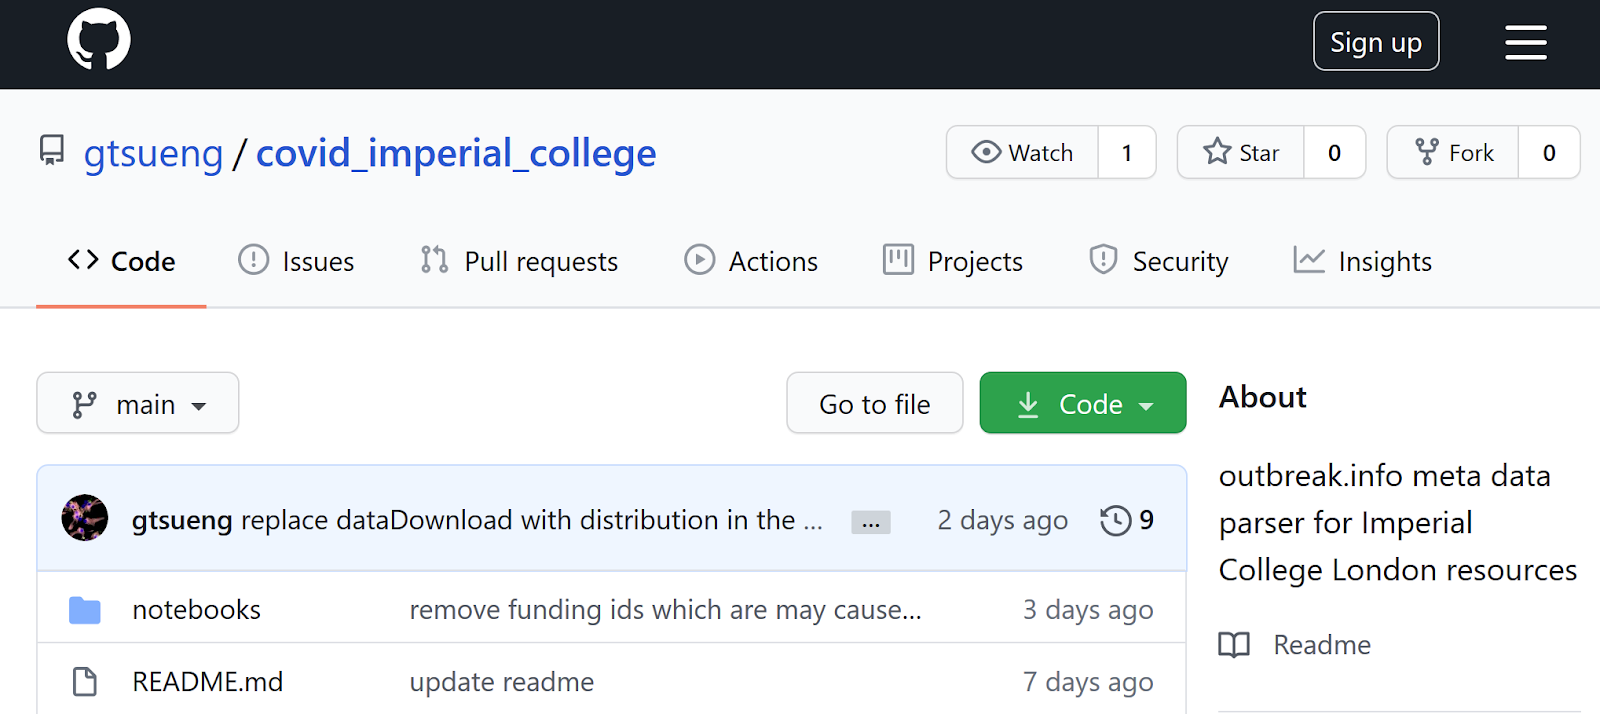
In the case of Outbreak.info, we wanted to be able to combine metadata about resources into a single searchable index. One source of COVID-19 information is the work by the Imperial College MRC Centre for Global Infectious Disease Analysis, which publishes projections on the spread of COVID-19. While their website has a number of reports and tools, they don’t expose metadata about these resources, making it hard to find this information. As a result, we built a BioThings plugin specific for this data source.
A plugin for a BioThings API has four basic parts: The dumper script (which downloads the metadata, for parsing if an API for a resource is not available), the parser script (which maps the metadata from other resources to our schema), the uploader (which will add the data to the database), and the mapping script and file (which allows merging and can be developed from our schema). It should be noted that a schema is NOT at all required for the BioThings SDK to work and that you can structure your metadata however you wish; however, in the interest of making things Findable, Accessible, Interoperable, and Reusable (F.A.I.R.), we recommend you use a schema whenever reasonable. Let’s go over each part in a little more detail.
The Dumper script: Get the data - This script is important for downloading files from sites that offer their data as dumps (like ftp sites), if they don’t have an API. For sites which do offer APIs like Medrxiv or Biorxiv, you can set up the dumper as a dummy file such that the BioThings SDK configuration requirements are met, but the dumper script does not actually download files.
The Parser script: Transform and standardize the data- This script parses through the data retrieved either from the data dump or from an API and maps the fields/properties with accordance to your schema (or whatever data structure you decided to go with). If the data is structured and has an open license, but is not available via downloadable dump OR API, it’s possible to write a crawler which will also serve as a parser. This script will serve up the parsed data as a Python generator object. In the case of the Imperial College plugin, there are multiple types of resources (publications, analyses, datasets) which the parser script will transform and normalize to each corresponding schema.
The Uploader script: Add the data to a database - This script will take the data you parsed and create a temporary object that can pre-process documents while they are merged. It uploads the data into a local snapshot of the database, which you can then merge into your MongoDB after verifying the integrity of the snapshot. The creation of temporary objects and the use of local builds allows you to ensure that the results of your scripts were as expected before you override an existing, working release.
The Mapper script: Create Elasticsearch definitions - The mapping script acts as an object that can pre-process documents while they are merged. If the script is not provided, it can be generated within the Studio web app using inspection tab. If the mappings are expected to change or grow in time, the script can take an Elasticsearch mapping file that indicates how each field should be treated. I was fortunate in that the mapping script and file were already generated by someone else on the Outbreak.info team, and that I only needed to update the mapping file to update the mapper for my Outbreak Imperial College plugin.
Once you have these scripts in place, the new data plugin can be registered and integrated into the existing database via the BioThings Studio by going to the sources menu, clicking on the option to add a new data plugin and following a series of prompts as seen in this video.
After following the prompts, the new data plugin will appear in your BioThings Studio dashboard as an additional source and the BioThings Studio interface will allow you to execute the functions defined in the dumper, parser, uploader, and mapper scripts found in your data plugin.
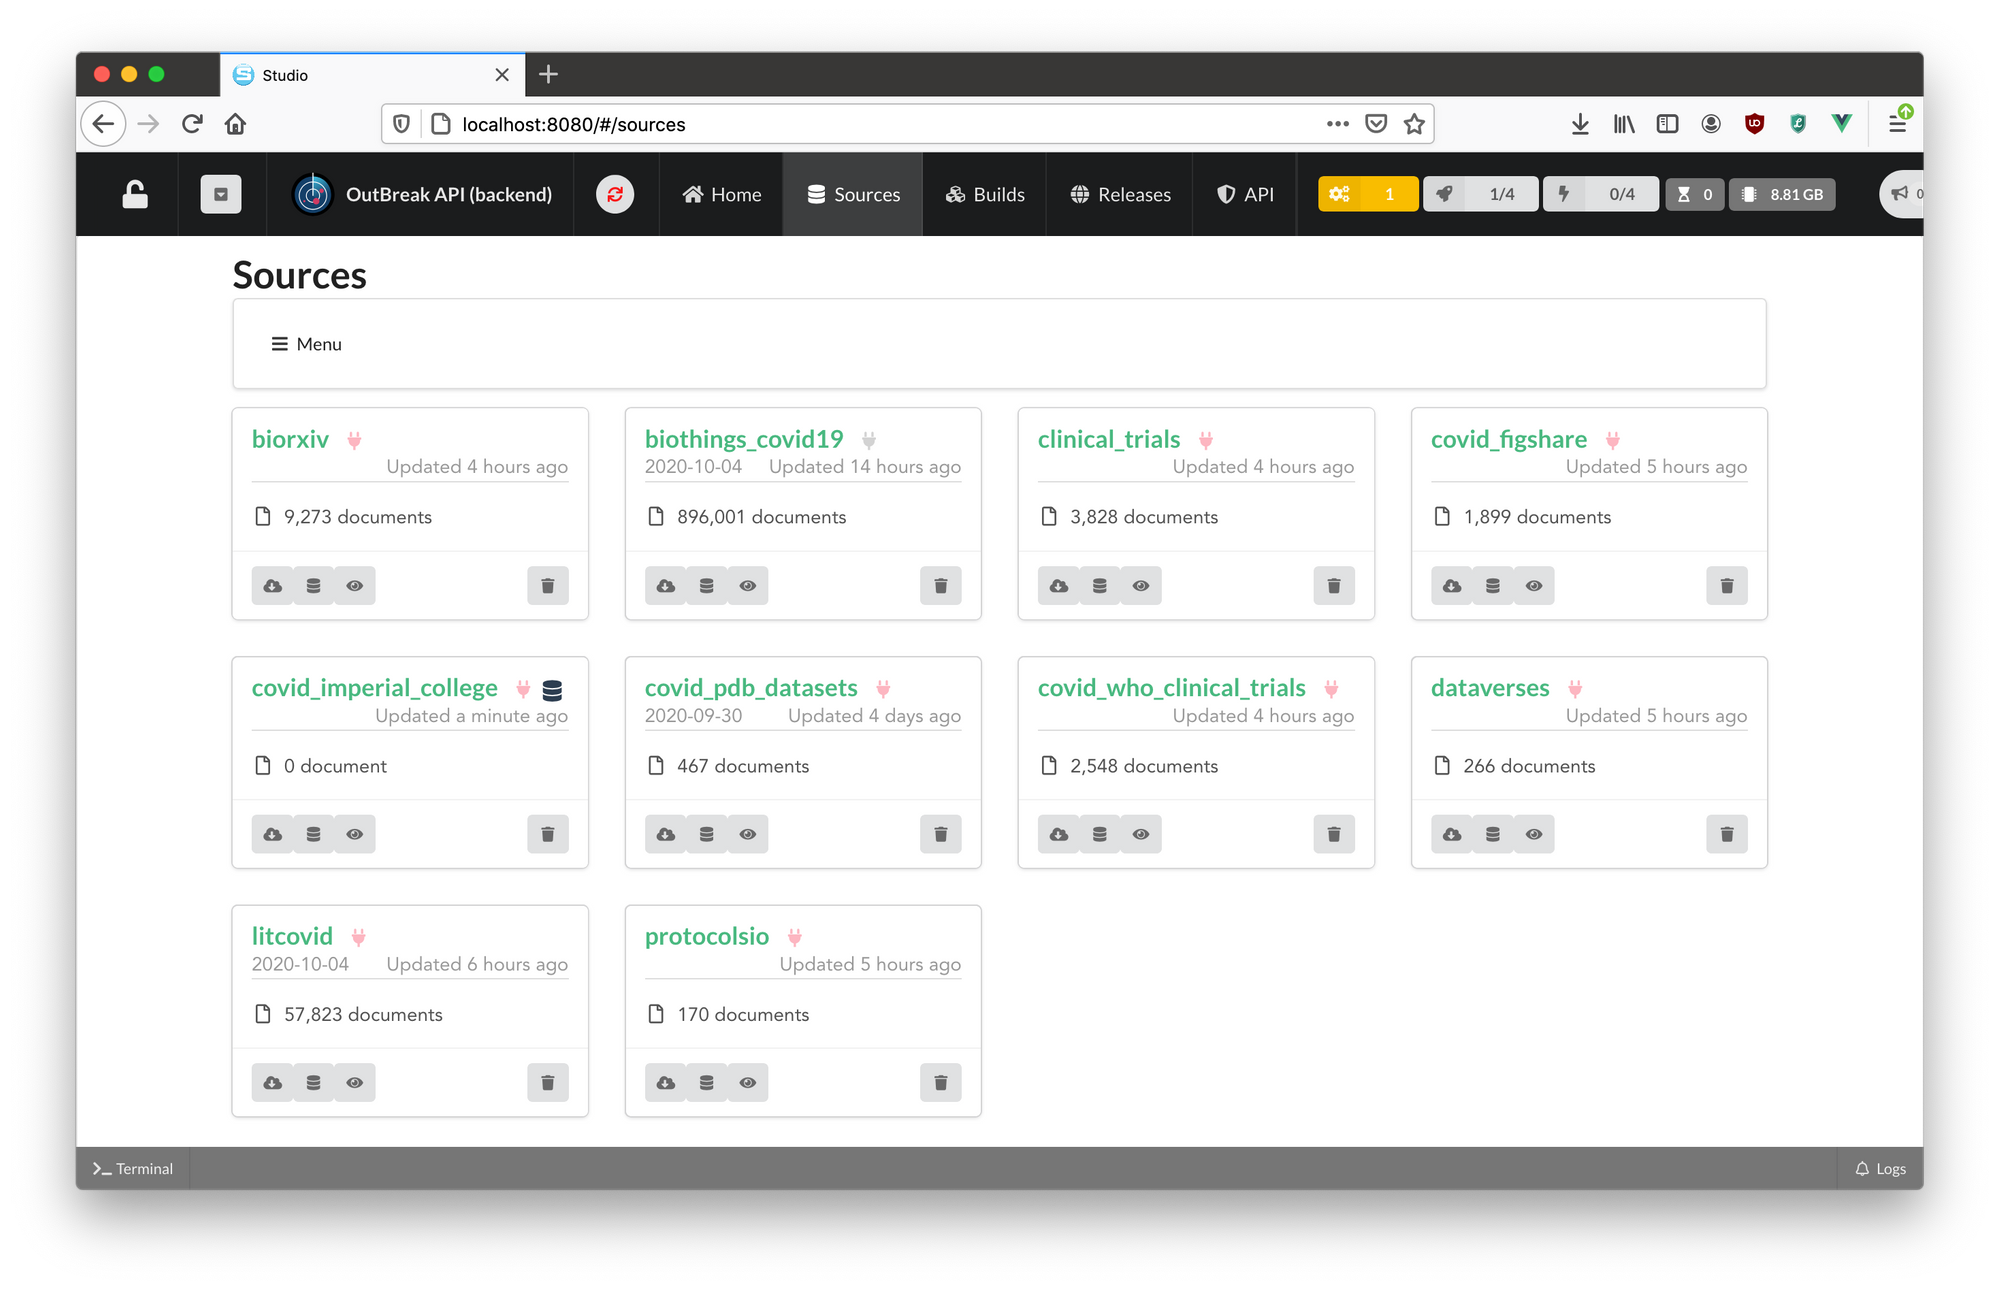
The BioThings Studio interface also provides a number of tools so you can quickly inspect the status of each data plugin (ie- last run, latest build, build times, logs, etc.) making it easier to manage multiple data plugins (ie- data sources) in one convenient dashboard.
If you’re interested in learning more about the process of writing plugins for the BioThings SDK and would like to jump in and get your feet wet, check out the github issue tracker for the resources side of Outbreak.info. If you’re feeling adventurous and would like to try importing a data plugin and using the BioThings Studio, you can follow this tutorial. Otherwise, we'll see you in our next post when we wrap up the series with a single example of how all these tools were used: outbreak.info.